
Throw out those assembly instructions; it’s time to get crafty with these bedroom furniture hacks.
We love IKEA because of its wide variety of affordable and trendy furniture. But…doesn’t everybody? Does that mean that we all have identical bedrooms?
Nope. Because there’s something lying beyond the set of assembly instructions that comes in every IKEA flatpack. Here are 5 hacks ranging from easy to hard that will give your bedroom a personal touch.
Headboard (With Hidden Ledges!)
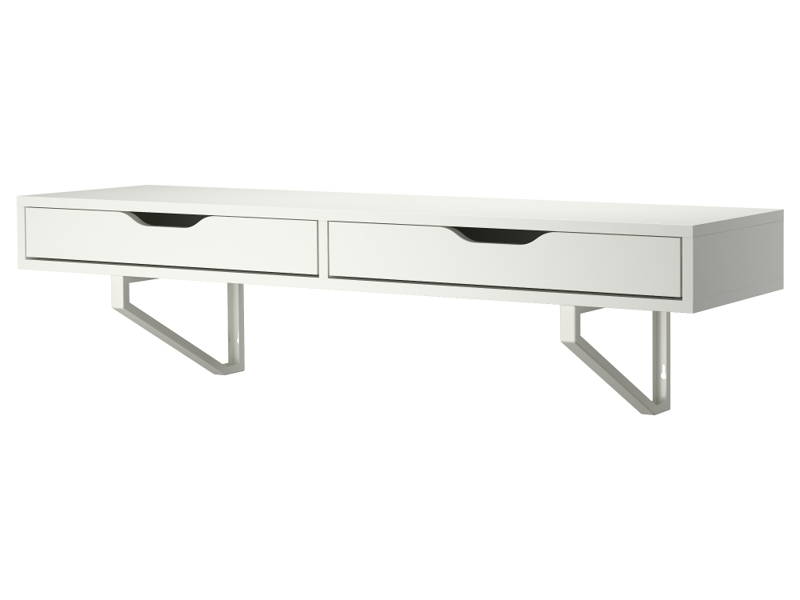
Need that little bit of ledge for you to put away your book (or phone) right before bed? Or want a little extra storage space in the bedroom but your bed frame takes up the whole side of the wall? Then this one’s for you.

SOURCE: ikeahackers.net
What you’ll need:
- 1x TORNLIDEN table top

SOURCE: ikea.com
- 6x MOSSLANDA picture ledges (for 3-tiered ledges)

SOURCE: Ikea.com
Instructions:
If you’ve got a flat, wooden headboard…
- Secure the MOSSLANDA picture ledges (as per assembly instructions) to the back of your headboard.
If you don’t have a flat, wooden headboard, DIY your own with the TORNLIDEN table top (see image above)….
- Secure the MOSSLANDA picture ledges (as per assembly instructions) to the TORNLIDEN table top. Make sure that you are attaching them to the underside of the table top as that will be the back of your headboard.
- Put the TORNLINDEN table top between your bedframe and the wall. The side with the ledges secured to it should be facing the wall.
Hollywood-Glam Drawers
Give your drawer an update with this hack that is simple to do that but will upgrade your bedroom design tremendously.

SOURCE: housebeautiful.com
What you’ll need:
- 1x RAST chest

SOURCE: ikea.com
- 6x brass drawer pulls
- Black paint
- Wallpaper
- Wallpaper glue
Instructions:
- Begin by painting the unassembled pieces in black.
- Measure and cut your wallpaper to the length of the RAST drawer, and glue it to the outer surface (the part which you’ll get to see!). Make sure to cover it right up to the sides to make the modification appear seamless.
- Assemble the chest as per instructions.
- Screw on the drawer pulls and you’re done!
Vanity
If you’re quite done with putting on makeup hunched over a tiny round mirror in your bedroom, this could be the project that will change your face painting game.

SOURCE: newblooming.com
What you’ll need:
- 1x EKBY Alex Shelf with drawers
SOURCE: ikea.com
- 2x LALLE table legs

SOURCE: ikea.com
- 2x (6” x 8”) shelf brackets OR 2x EKBY Valter brackets

SOURCE: ikea.com
- 1x mirror
- White spray paint
- Primer
Instructions:
- Spray paint and prime the shelf brackets.
- Assemble the Alex shelf and secure the LALLE table legs to either ends of the shelf.
- Secure the shelf brackets to the wall, and secure the Alex shelf to the brackets.
- Put up your mirror centered to the shelf.
- All you need now are a few drawer inserts to organise your collection, a bright (white!) lamp if the lighting at night is poor, a comfortable chair or bench, and you’re ready to paint the town red!
See here A New Bloom for full instructions
Fur-Covered Seat Stool
A glam seat to go with your glam vanity and drawers for the bedroom!

SOURCE: darlingdarleen.com
What you’ll need:
- 1x MARIUS stool

SOURCE: ikea.com
- Faux-fur material
- Foam
- Adhesive spray or glue
- Spray paint
Instructions:
- Spray paint the leg of your stools to your colour of choice and let it dry.
- Trace the stool top over the foam and cut with a precision craft knife. Cover the top of the foam with adhesive spray or glue, flip it over, and press it down on the stool top.

SOURCE: darlingdarleen.com
- Cut the faux-fur material large enough so that it can cover the entire foam and stool top combo. Cover the foam part of the stool top liberally in adhesive and place it down on the underside of the faux-fur material. The plastic part of the stool should be exposed at this point.
- Cover the rest of the stool with the “fur”, taking care not to cover the screw holes (but even if you do, it’s only a matter of trimming off the material).

SOURCE: darlingdarleen.com
- Follow the rest of the assembly directions to secure the stool legs (make sure the paint is quite dry before you do!).
See Darleen Meier for the full instructions.
Scissor Lamp

SOURCE: Pinterest user Stéps Bronson
The accordion design allows you to pull out your lamp when you need it for directed lighting in the bedroom, and put it away just before going to bed. Perfect for when you need to read the IKEA assembly instructions to sleep.
What you’ll need:
- 1x FRACK stainless steel mirror

SOURCE: ebay.com
- 1x RANARP wall/clamp spotlight

SOURCE: ikea.com
- 1x wall plaque
- 2x wavy locking washers (removed from the RANARP spotlight)
- 1x nut (from the FRACK accordion/scissor extension arm post)
- 1x ¼” or size 6 nylon nut
- 2x screws
- Drill
- ¼” or size 6 drill bit
- Paint
Instructions:

SOURCE: ikeahackers.net
- Remove the gold mounting bracket on the end of the large mounting clip of your RANARP spotlight. Keep the locking washers for later.
- Use a ¼” drill bit to make the mounting hole on the gold bracket you just removed slightly bigger.
- Turn the nut on the FRACK scissor extension arm down to the lowest point. Place a locking washer on top of the nut.
- Place the gold bracket over the locking washer. Place another locking washer on top of the gold bracket.

SOURCE: ikeahackers.net
- Secure the bracket with a ¼” or size 6 nylon nut.
- Paint the wall plaque to a colour that suits your bedroom’s colour scheme. Once that dries, secure scissor extension to the plaque. This isn’t necessary, but does make the lamp more secure.
- Secure the plaque to the wall. Assemble the rest of the spotlight as per instructions.

SOURCE: thrillist.com
See Ikea Hackers for full instructions.
Throw out those assembly instructions; it’s time to get crafty with these bedroom furniture hacks.
-
 Embracing Talent, Creating Change: 10 Defining Moments at the 2023 Atap Design Awards
-
 Wells The One: The Game-Changing Multi-Functional Water Purifier
-
 Bring Prosperity Home With 3 Lucky Colours Of The Wood Dragon This Chinese New Year
-
 Atap’s Picks: Products of The Year 2023
-
 Embracing Talent, Creating Change: Atap Design Awards 2023 Winner’s List (Part 1)


